Ray, You're right that creep or walk is something that is happening when using the tool to hammer the wire... as you hammer in the wire with power it will creep down the channel. I have to make sure I start out with wire that is thick enough because if it is too thin and it walks too much there isn't enough gold there to over fill the channel like it should. To prevent too much walk I don't seat the wire completely but just partially... and then after that piece of wire is cut off, I'll go over it again and really work it in. It doesn't have a place to creep this way.
I'm using the left hand to hold the roll of wire and the right hand has the airgraver with a punch in it. Once a piece is in, I'm setting down the airgraver and picking up the xacto and cutting off the wire by moving the wire up and down along with light pressure from the knife. When two pieces of wire are butted up to each other, I'll cut it off before it is all hammered in and start hammering at where the butt is and work back to where I left off.
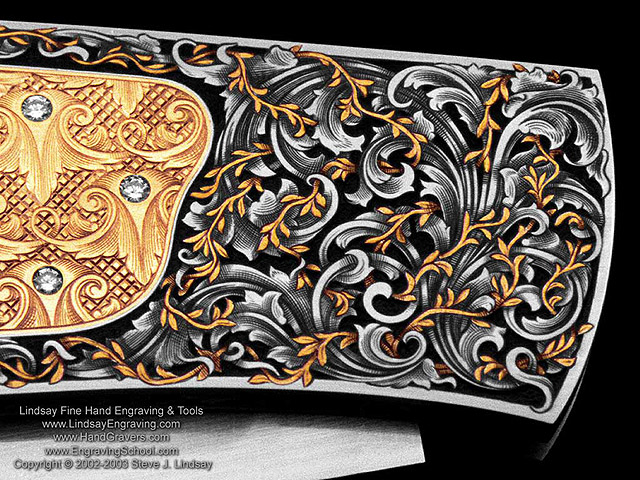
I find it efficient for me and I have better control to use the airgraver with one hand while holding the wire with the other while inlaying under the scope that is set off at about a 45 degree angle. I'm thinking about the job pictured below with all the small inlays. I don't cut the wire until it is inlayed just enough to hold itself, then cut and squish down the cut end and go over that whole wire again. When there are a lot of little inlays all butted together, I'll do it in a similar way, by seating each one lightly, cutting off, and when they are all in, go over all of them together as a whole to make sure the edges of the inlays are all filled and so hopefully there won't be a void next to an edge when it is sanded flush.
With the larger inlays I'll use a bigger punch with a hammer without the scope and after it is set go in with the airgraver under the scope and go over the edges more. With the smaller wire work though, it is just the airgraver with the small punch under the scope.
Ray, thanks again for your help and input with getting the forum up and all going!
![Smile[2]](/images/smilies/top smiles/smile[2].gif)
Steve
